Encapsulation is wrapping of data and information together in a single unit called Class. But since there is no Class implementation in Rust, so how can we achieve encapsulation in Rust.
In Rust, we can implement by using structs. Struct have an extra level of visibility with their fields. The visibility defaults to private, and can be overridden with the pub modifier. This visibility only matters when a struct is accessed from outside the module where it is defined, and has the goal of hiding information (encapsulation).
mod module {
// A public struct with a public field of generic type `T`
pub struct OpenDoor<T> {
pub status: T,
}
// A public struct with a private field of generic type `T`
#[allow(dead_code)]
pub struct ClosedDoor<T> {
status: T,
}
impl<T> ClosedDoor<T> {
// A public constructor method
pub fn new(status: T) -> ClosedDoor<T> {
ClosedDoor { status: status }
}
}
}
fn main() {
// Public structs with public fields can be constructed as usual
let open_box = module::OpenDoor {
status: "public information -- Door is opened",
};
// and their fields can be normally accessed.
println!("The open door status : {}", open_box.status);
// Public structs with private fields cannot be constructed using field names.
// Error! `ClosedDoor` has private fields
// let closed_door = module::ClosedDoor { door: "classified information --
// Door is closed" };
// TODO ^ Try uncommenting this line
// However, structs with private fields can be created using
// public constructors
let _closed_door = module::ClosedDoor::new("classified information -- Door is closed");
// and the private fields of a public struct cannot be accessed.
// Error! The `status` field is private
// println!("The closed door contains: {}", _closed_door.status);
// TODO ^ Try uncommenting this line
}
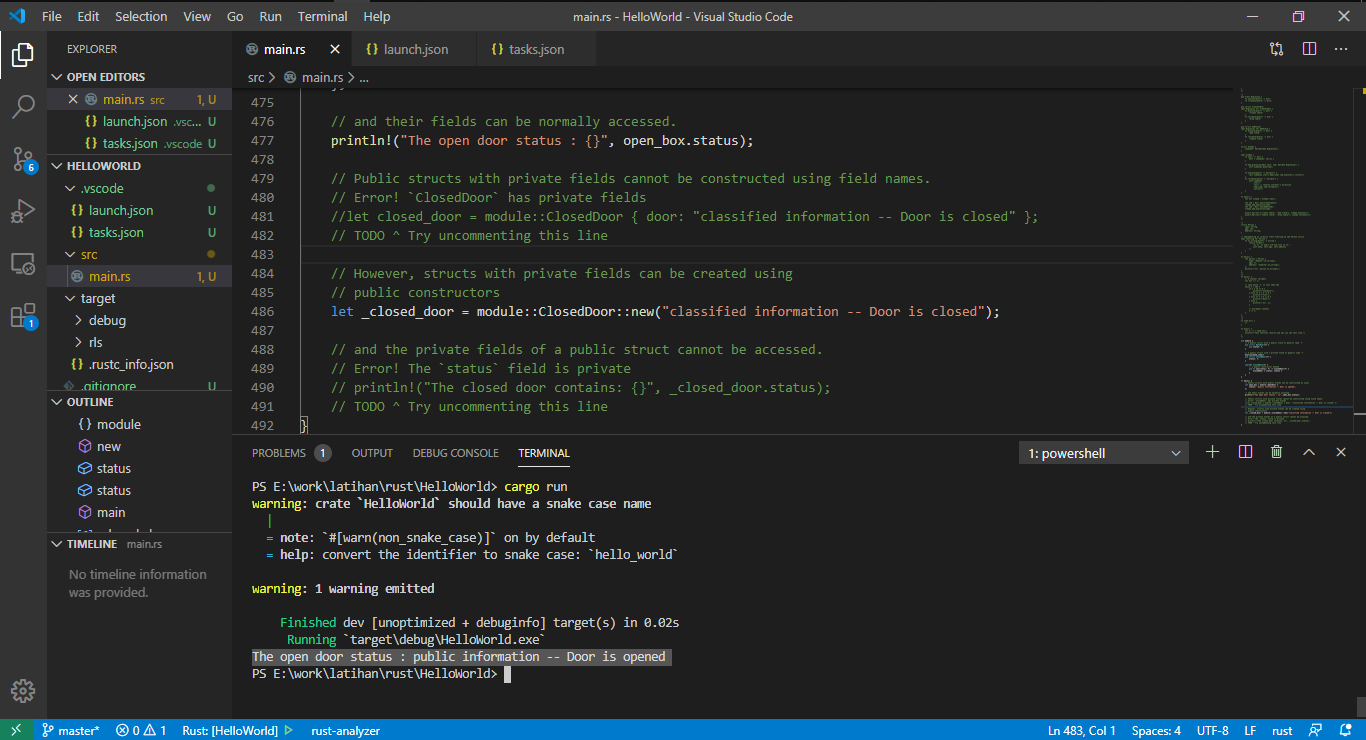
you may run by compiling with cargo build and cargo run. Result shown as below
Thank you


